How to Decorate your Laptop with Stickers (and not ruin it!)
Do you love the idea of laptop stickers but are unsure whether you should give them a try? Or maybe you have already made up your mind but want to ensure you go about it the right way?
We are here to help you do exactly that. In this article, we will give you tips and tricks on how to apply stickers to your laptop without damaging it in the process.
1. Start with a clean surface
This should be the first step no matter where you want to apply your stickers to. Any form of dust or dirt can impact the adhesion of your sticker or create little bubbles underneath the vinyl.
If you want your stickers to stick and look perfect, you want to ensure your surface is as flat and clean as possible. Especially laptop shells are prone to collecting dust and grease. You can easily get rid of this using an alcohol-based cleaning solution.
Several drops on a cotton bud are all you need to wipe the surface. When doing this, avoid your keyboard, as you do not want any liquid running down the little slits. Once you are done, leave your laptop enough time to dry before applying your stickers.
2.Get the right material
Get your hands on custom stickers if you want to decorate your laptop. This way, you can get your favorite designs printed and are not stuck with generic images – a great way to personalize your laptop.
You can also choose your material. Many sticker printers offer a great range of materials from glitter to fluorescent. Laptop stickers are mostly vinyl-based. Vinyl stickers are durable and resist water, sunlight and scratches.
This means, you do not have to worry about the occasional bump or a leaking water bottle in your bag or backpack. This way, stickers can even form a protective layer around your laptop.
If you keep your laptop in a skin or an extra bag, paper stickers can work just as well for you. They are not as resistant as plastic-based stickers but will decompose within 12 weeks, which is brilliant.
3. Pick your favorites
We recommend that you find an aesthetic you love before you start applying your stickers. A quick Google or Pinterest search can help you find out exactly what you would like to do with your stickers.
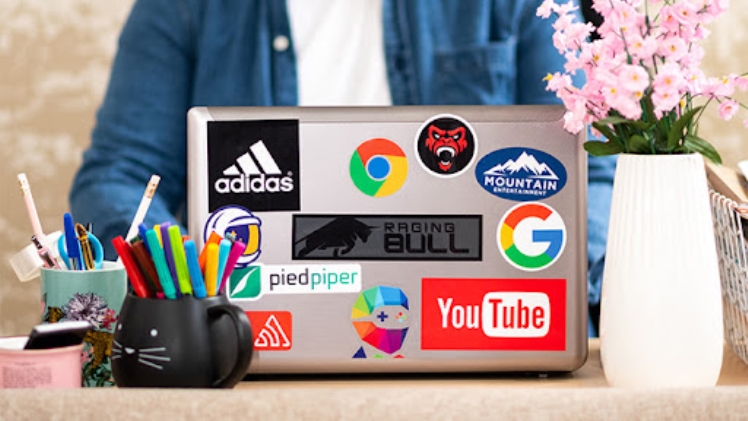
Sticker bombing is still one of the biggest trends. It means that you cover an entire surface with a layer of stickers until the surface basically disappears. You need a lot of stickers if you want to give this a try. A sticker sheet is a great way to order different designs at a low price.
Keep your favorite designs until last. Just think about it: they are likely to get covered in a mountain of stickers. Reserve that prime spot on top for them. If you cannot decide between several different designs, transparent stickers can be perfect for you as you can still see other designs through them.

4. Apply from the center
Laptop stickers come with a pressure-sensitive adhesive. This means, their adhesive is activated once you put pressure on them. Avoid putting pressure onto your sticker until you are 100% happy with their position. This way, you can try different spots without impacting the adhesive.
Once you are happy, start applying pressure from the center and slowly work your way outwards. Remove air bubbles that might appear as you go using a credit card or your thumb.
And now you know everything there is to know about laptop stickers and how to apply them. We hope you found this helpful and are ready to get started. We would love to see your creation, so feel free to share them in the comments below.
Read More: World Latest Business Website schulist.info and theexpressreview.com also check health blog site healthylifey.com